Creating a PythonEngine Autograder
This guide explains the process of configuring and generating an autograder bundle in Quickscope, using the Python Engine for ChalkBox.
Generic Setup
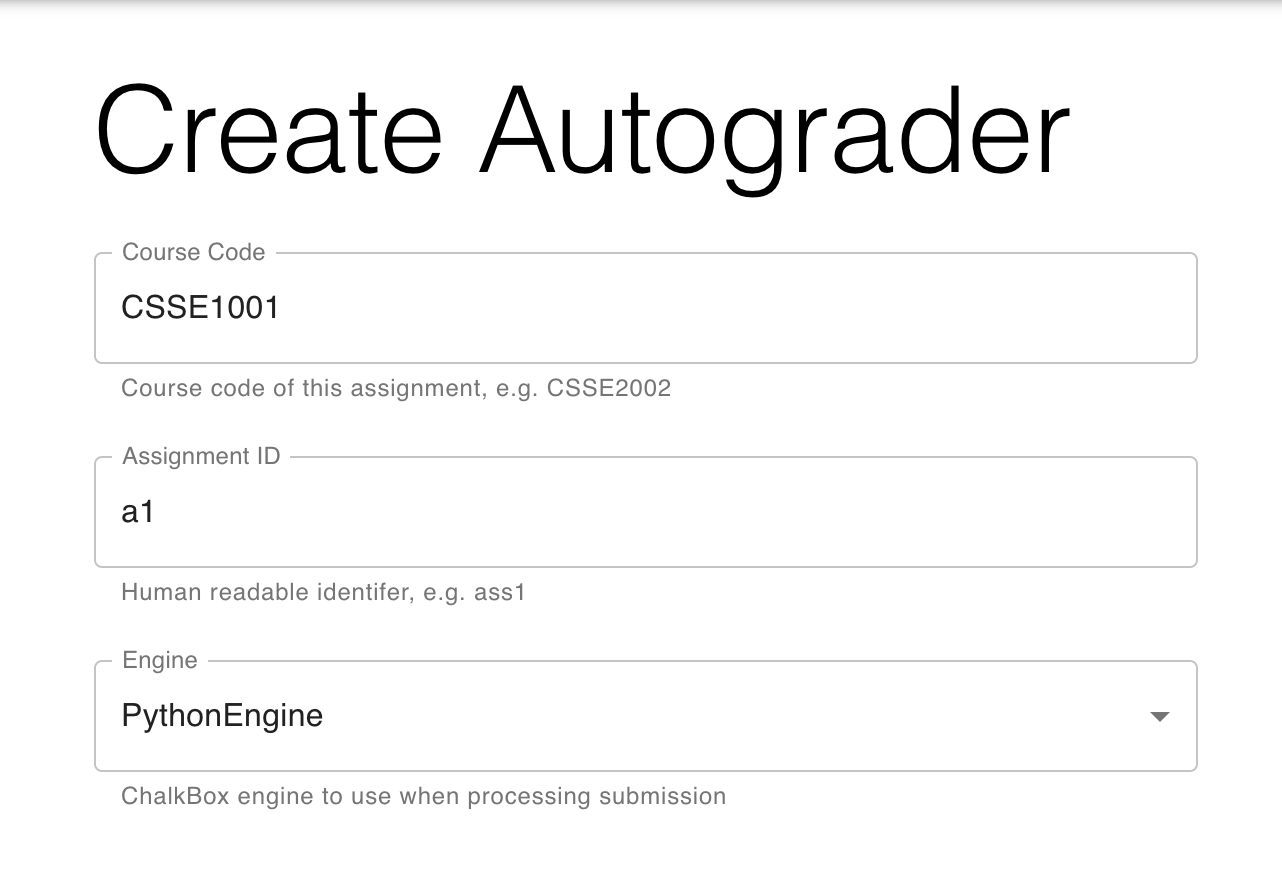
Visit http://quickscope.uqcloud.net and log in with your UQ credentials.
Choose a course code and assignment identifier for the autograder. These will be displayed in the instructor-facing output for debugging purposes each time the autograder runs.
Choose the PythonEngine under the ‘Engine’ dropdown box. A set of engine-specific options will appear below.
Python Engine Configuration
Here you will be required to provide the needed files for the engine.
You will first have to provide the expected name of the student submitted file (e.g a1)
and the name of test script (e.g test_a1.py).

Included Folder
You will need to provide a folder of included files to Quickscope containing:
The test script and dependencies (e.g. for CSSE1001,
test_a1.pyandtestrunner.py)Support files for testing (e.g. config files)
Support files for student code (any files that have been provided to students as support code)
This is an example of an included folder for CSSE1001, using the 2019 assignment 1:
included
│
├── test_data
│   │
│   ├── main_fixed_win.in
│   │
│   ├── main_fixed_win.out
│   │
│   ... more files
│
├── a1_test.py
│
├── testrunner.py
│
├── a1_support.py
│
├── WORDS_ARBITRARY.txt
│
└── WORDS_FIXED.txt
Visible Tests
You will need to provide a text file that contains the names of test classes that will be available to students before the due date. The results from the tests named in the file will be visible to students each time they upload a submission to Gradescope.
Generating and Uploading Autograder
Finally, once all stages have been configured, the autograder is ready to be
generated.
Simply click the “Generate Autograder Bundle” button at the bottom of the page,
and a .zip file containing the entire autograder suite will be downloaded
automatically.
This file can then be uploaded to Gradescope.